Combining Tech to Adapt Down

Teaching technology skills to the early grades can seem intimidating. The research is out, but it’s inconclusive as to what is “appropriate” for different age levels.

I approach technology differently (and you can too!). Tech should be a means to an end, not the goal itself. After all, most of us learn how to use technology because we want to do something, not “just because”.

One classic limitation we hit in the early grades is literacy. What can you do with students that have variable reading and writing skills? What about your ESL students?

For their units exploring world cultures, Grade 2 teacher Miss D’Amours and I developed a student-centered website combining Weebly, Symbaloo, Youtube and the Google Cultural Institute.

What we created connected students to museums around the world and gave them a platform to show their learning!

To start, the kids and I created their Weebly for their class together. This means, I had the editor open and projected onto their whiteboard. We voted on the name of the website, the layout and header design–a process that gave the students a sense of ownership.


The students already had some experience with Symbaloo (thanks to the work of Miss D’Amours), and we love it because it allows students to connect safely (no related videos to click) to Youtube and other media resources. For this unit, we added videos, simulations and custom-made galleries made using the Google Cultural Institute (each filled with art from a designated country). Click below to check out our Symbaloo below!

Screen Shot 2016-02-07 at 2.44.00 PM

After discussing what we were going to be looking for in the galleries (colors, shapes, materials, subjects), we released the children to explore their galleries and tell us what they were finding. Many of the children are of mixed race and/or cultures and were delighted to find authentic art works from their countries.

After a couple of sessions using just the Symbaloo and having kids write down their ideas on bubble organizer type worksheets, we decided to try integrating a Padlet as a Wonder Wall for the students to add their ideas and discoveries.

Here is an example of the Padlet the students used in their classes. The best part of Padlet is that it doesn’t require a login and anyone can add notes to it.  Go ahead! Play around! Leave me a comment.

Padlet was the perfect next step in sharing information. The students were motivated to write and show their learning because they could see what they and their friends were writing in real time! In the following weeks, some students even accessed the website from home with their parents and left comments to show off in class.

In my practice, I aim to make technology seamlessly integrated into the students learning journeys, but that doesn’t always happen. Experiments can succeed or fail. Luckily, this project really took off. It is a testament to the potential of team teaching and open-minded, future forward thinking.

Science Inquiry for Early Years

Each Monday at my new school, I have an hour long lesson with a class of 3-4 year olds, many of whom are English Language Learners (ELL). All of my lessons are centred around science inquiry. One may wonder if inquiry is even possible with a group of children this young, but, so far, I have been impressed with what my students can handle. Last week, we looked at materials and tried to discover which Japanese coin cut through ice the fastest. The kids enjoyed trying to melt holes through their own blocks of ice with various coins. I asked the kids to make predictions, and, once we all had a chance to test out every coin, I had the kids vote on which coin they thought cut best through ice.

This week, I have started a seedling project with the kids. My goal for this week was for them to practice making inferences and predictions from observable information. We are practicing being IB  Thinkers and Inquirers. To scaffold, I showed the kids the unopened seed packet filled with runner beans and explained to them that I had a surprise. I told them that I wanted them to take one object from the bag and look at it in their hands. Once everyone had a bean and had had some time to look at it, I asked them what they knew about the object by looking and touching.  The kids had a lot of great descriptive words, including colors and textures. Then, I asked if anyone knew what the object was. Lucky for me, some of the kids are already budding gardeners, and they saw immediately that the seed was a “bean” or “tane”. Together, we brainstormed about what seeds need to grow and checked our understanding by learning this song about planting. Once we all agreed that plants need water and sunlight, I introduced the activity:

“Today we are going to plant our beans…but we are not going to go outside!”

Understandably, the kids were shocked. I asked them to think about how I could plant seeds inside, and, to help them, I showed them the activity materials: a paper towel, a plastic bag, tape, and water. The kids tried their best but couldn’t quite figure out how we were going to plant our seeds. From there, I did a guided inquiry, which means I demonstrated how to dip the paper towel in water, wrap it around the bean, and place it in the plastic bag, while asking the kids why I was doing each step. They were able to guess why the paper towel had to be wet. They were also able to guess why we were going to tape the bags to a window (for sunlight). Lastly, I asked the students the big prediction question:

“How many days do you think it will take for the seed to sprout?”

I had the students write their number on their bag. Because they are learning their numbers 1-10, most of the predictions fell in that range. Every day I see students checking their seeds. Some of them swaddled their seeds like babies, and some folded their seeds in neatly. Some had lots of water, and some have none at all. We are excited to see which seeds sprout first!

Lesson materials:

  • Beans/seeds
  • Quart sized plastic bags
  • Permanent markers
  • Paper towels
  • Water

What do I do with my free time and ¥315?

My seniors are graduating. My classes are ending. My days are opening up.

The other teachers will be off, but since I’m a contracted worker, I will be working full-time through the March break (the Japanese school year ends in February and begins in April with a two month break in July and August). Though I will fine tune some of the curriculum I planned last year,  I won’t be able to make any solid changes until I meet the new teachers I will be team-teaching with in April (the teachers I work with also change with the new school year).

So what is an educator to do with no students and virtually no lesson planning?


Make Classroom Tools!

months

I spent a few bucks at the local Daiso (dollar store) and got myself a black oil marker, some watercolors, and a giant sheet of paper. Six hours later and I had this beauty to hang in my classroom!


What is the difference between a classroom tool and a classroom decoration?

When I imagine a classroom decoration, I think of those rolls of paper for sale at teaching supply stores for taping around the borders of the class bulletin board. They are fantastic for brightening up a classroom and drawing attention, but outside of those functions, they don’t necessarily serve a direct, educational purpose.

A classroom tool is a visual, tangible, or other sensory mechanism by which students can derive educational information. Most classrooms are covered in them, from posters to reminder notes to hanging displays. They are a great method of creating a learning space and giving the students the tools to remind themselves of key learning concepts or learn independently.

Obviously the there isn’t a solid line separating decorations and learning tools because there’s no reason why a classroom tool can’t be decorative. In fact, classroom tools should be decorative! Visually pleasing posters and notices will get a lot more attention from students, especially spacial and visual learners, which is why it is important to make educational tools clear and pleasant.

At all of the four schools I teach at, only one school gives me a set classroom, and it is that classroom alone that is decorated…with Spanish posters. They don’t even offer a Spanish class anymore! These posters are relics of a bygone era.

So that’s what I’m doing with my March. I’m going to renovate my one single dedicated English classroom. It will be beautiful. It started last week with my new Months of the Year poster.

I will keep you posted on my progress.

Getting in the Olympic Spirit!

Here are the hard copies of a lesson I created for my students about the Sochi Olympics at my academic Japanese high school. The lesson plan was as follows:

  1. Make a small introduction about the Olympics. I mentioned the Tokyo Olympics in 2020 and explained that the Winter Olympics this were in a place called Sochi.
  2. Read the Sochi Winter Games passage slowly. I told my students to listen only (no notes, no stress), so they could warm up their ears to the English.
  3. Play Dictionary Race. I handed out the Dictionary Race worksheets and the students and I practiced pronunciation of the new vocabulary with a round of “Repeat after me!”. I directed my students to make teams of 4-6 people and compete in Dictionary Race (basically they race to fill their worksheet out with the correct definitions to the new vocabulary).
  4. Pass out the Q & A worksheet. Read the questions and have the students repeat after you. Ask students if they understand the questions, and clarify meaning where necessary. Direct the students to take notes as you read the passage again.
  5. Read the Sochi Winter Games passage slowly. The team teacher will  check that students are taking notes.
  6. Pass out copies of the Sochi passage. Have students work in pairs or groups and answer the questions on the Q & A worksheet.
  7. Check answers. Haave students write answers for Q & A sheet on the board. Go over answers with students.
  8. Wrap-up. Encourage students to check out the Olympics and cheer for their athletes.

Click to download!

Click to download!

Click to download!


Photos taken from Google Images. Copyright infringment not intended. I do not claim ownership of the photos on the worksheets, only the written content.

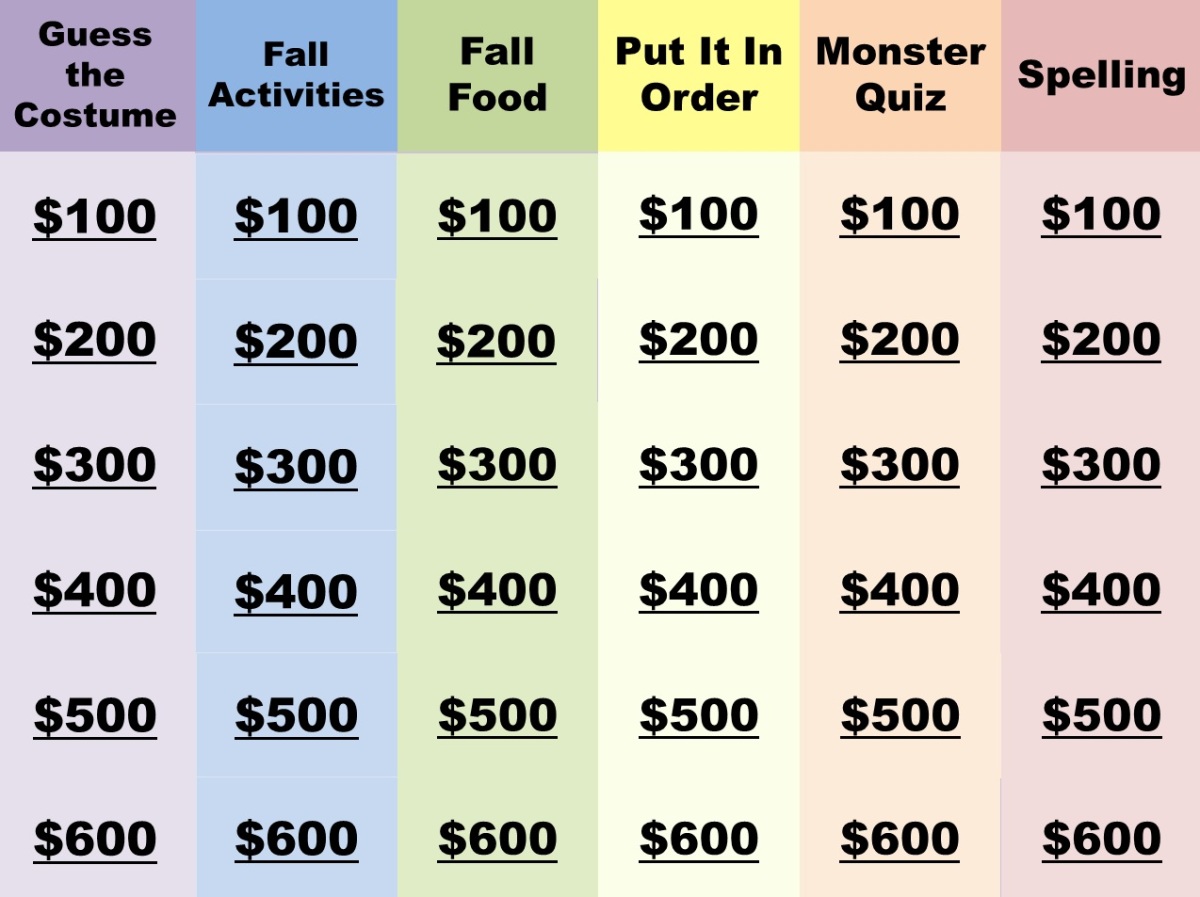
Autumn Jeopardy

It certainly doesn’t feel like Fall anymore here in Okayama, but here’s a fully loaded Autumn Jeopardy Power Point for your class!

The categories include: Guess the Monster, Fall Activities, Fall Food, Put It In Order, Monster Quiz, and Spelling. The focus of the game is to practice reading comprehension, spelling (changing katakana to English) and to expand student’s understanding of fall holidays in the United States.

Pick it up! Put it down! Strip it! Make it yours!

Click to Download!